GUIDE TO HIKING YOSEMITE'S HALF DOME
CALIFORNIA, USA
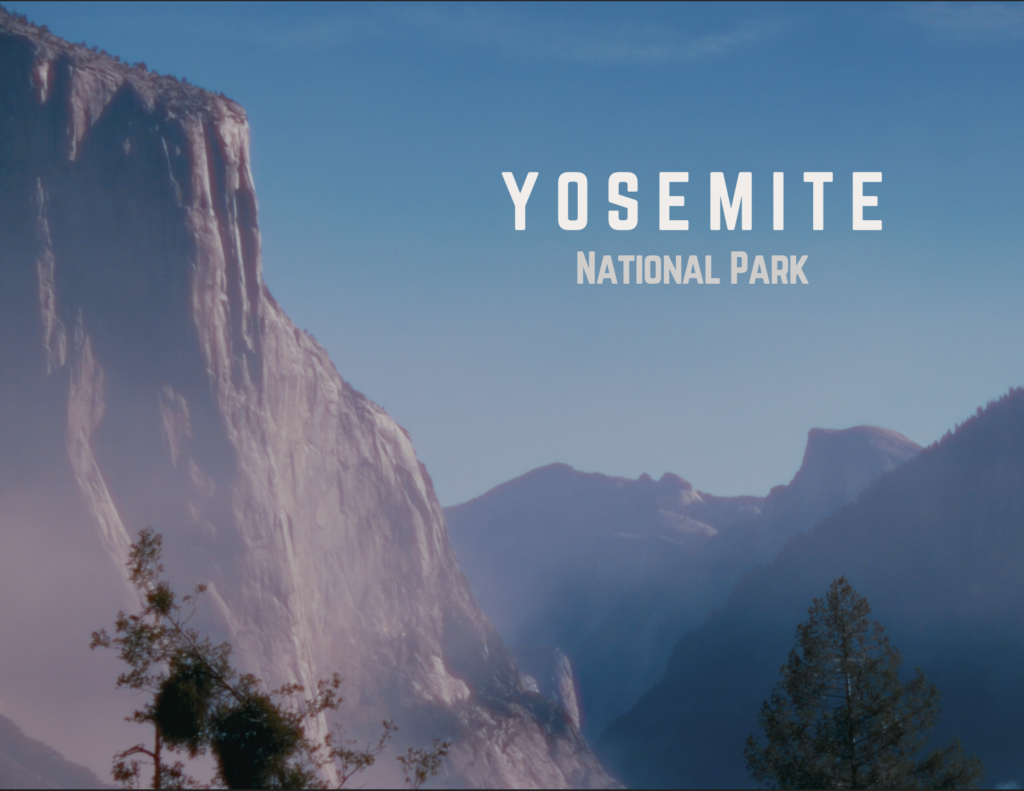
Yosemite National Park is one of California's nine national parks and houses the greatest granite cliffs on the planet; one of them more distinct than the others.
This is a full guide to hiking the Half Dome.
We are by no means veterans to the world of hiking. Out of the four of us, only one has completed a hike longer than 10 hours and the rest have done some extended strolls in the highlands of Iceland. Nonetheless, we set out with vigor in our hearts and utter determination to conquer Yosemite’s most dangerous hike.
Are we crazy?
Yes.
Did we survive?
Barely.
But that’s what made it exceptionally riveting, knowing that we are capable of pushing the body, mind, and spirit in ways that we never thought possible.
This adventure was filled with a tiny ounce of blood, streams of sweat, and an overwhelming trickle of tears. It is a wonderful hike with deathly views and a breathtaking climax to the summit.
Here is everything you need to know to hike the Half Dome.
What is THE HALF DOME
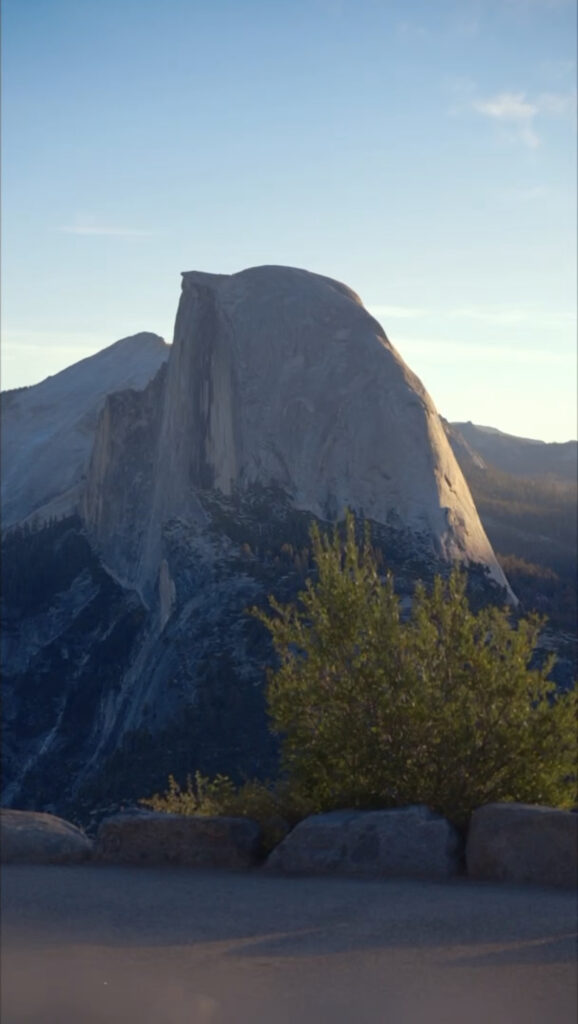
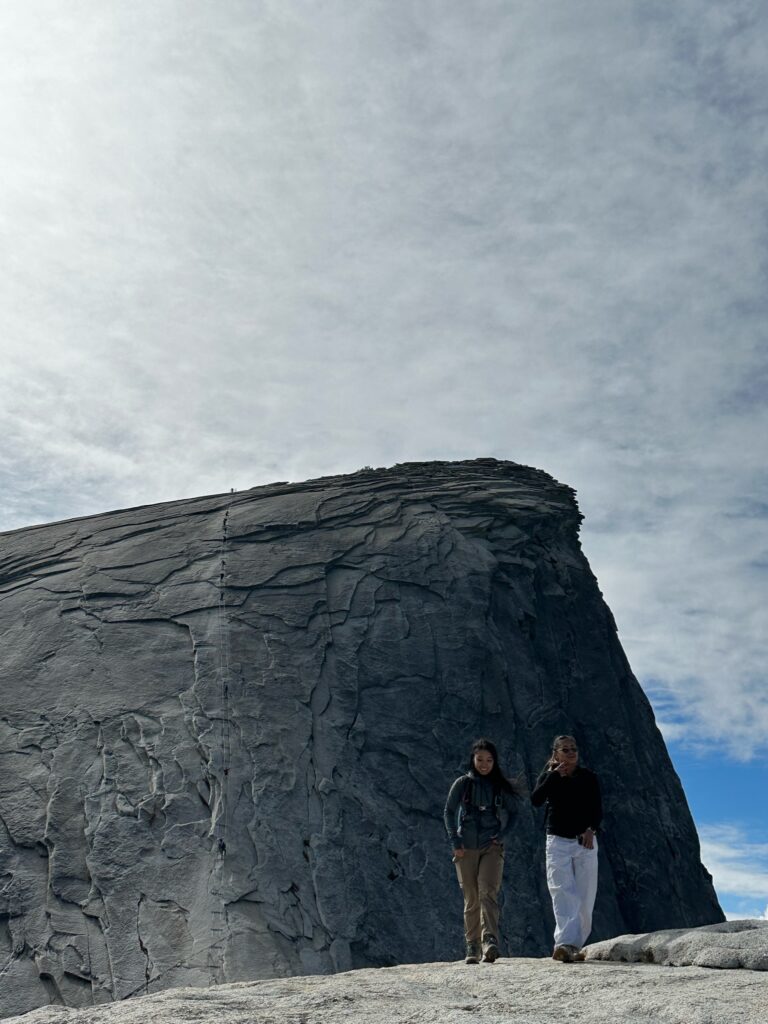
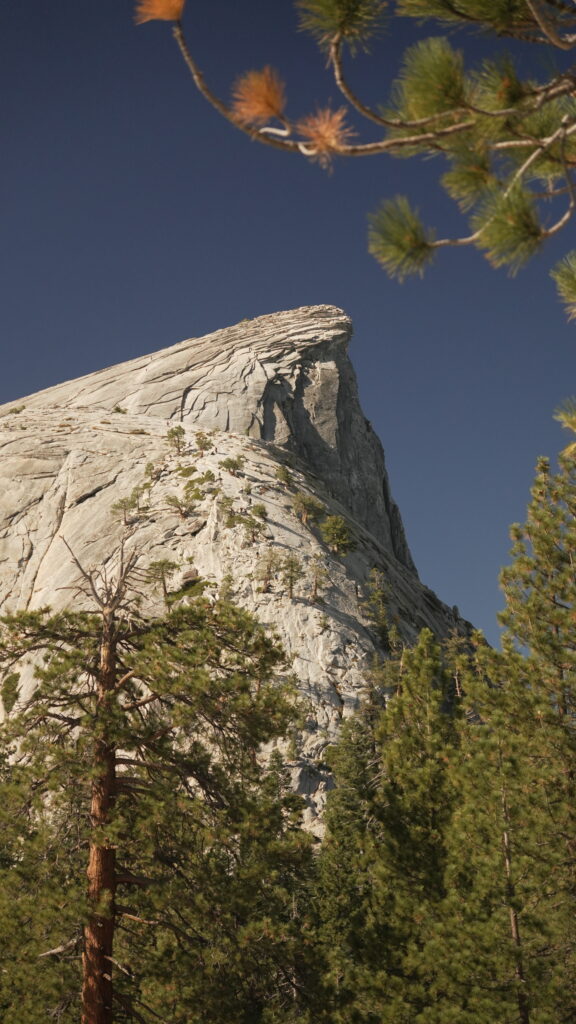
Half Dome is an astounding granite dome in the Sierra Nevada mountain range and an iconic symbol of Yosemite National Park. It was named after it’s odd shape; a seemingly flat northwestern face creating the appearance of a half-severed dome.
The Half Dome is an exceedingly popular destination for amateur and seasoned hikers. It is a bucket-list adventure with views that may literally take your breath away.
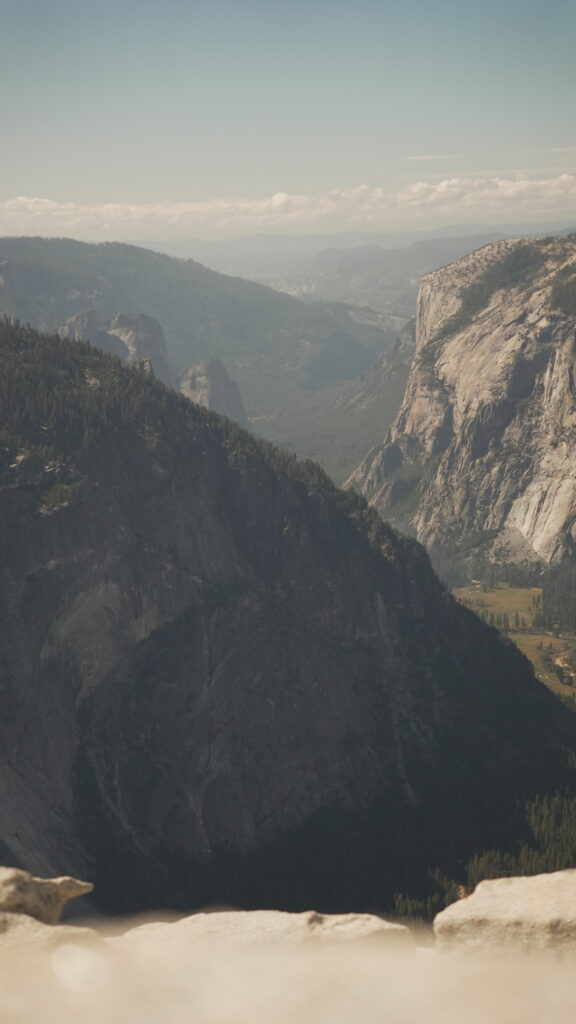
At 8,846 feet, this mammoth batholith is visible from nearly everywhere within Yosemite Valley and regarded as Yosemite’s most popular hike.
The North Face logo was inspired by the shape of the Half Dome.
WHERE IS THE HALF DOME
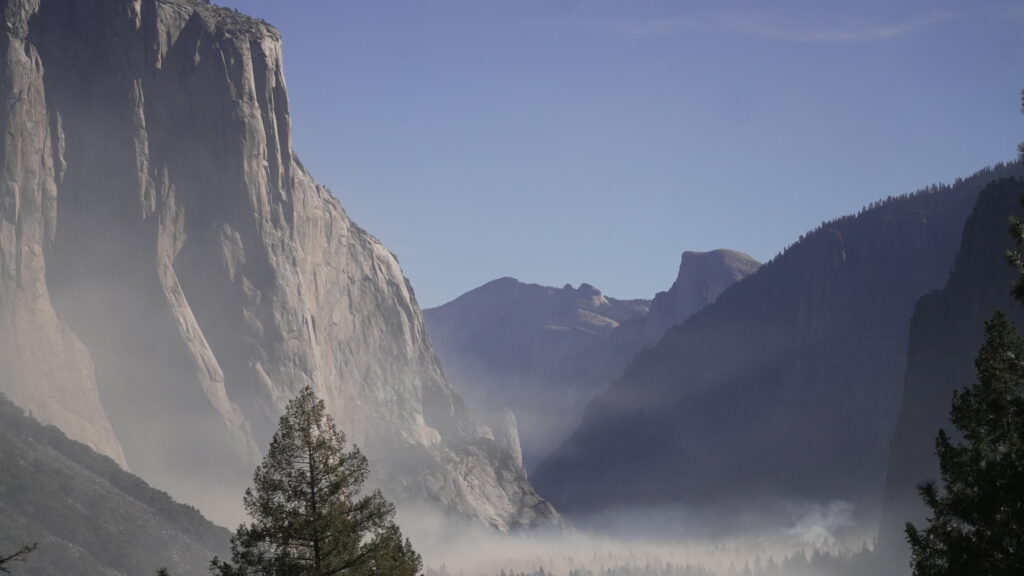
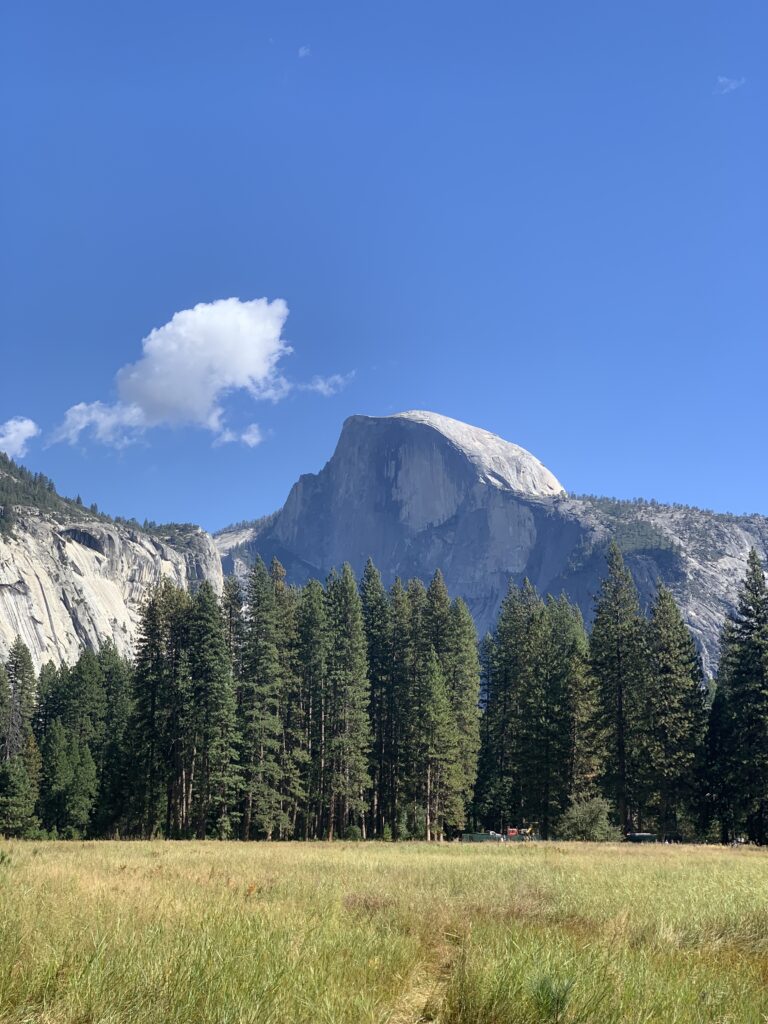
Located on the eastern side of Yosemite Valley at Yosemite National Park in California, USA. It is part of the larger mountain range; the Sierra Nevada.
WHEN TO GO VISIT THE HALF DOME
For the best experience, the optimal time to hike the Half Dome would be late-spring or early-fall when the temperatures are mild and the crowds are low. While the trails are open year round, the Subdome and the Half Dome are only accessible from May to October.
Generally, you would want to begin hiking no later than 7:00 am in order to return to the valley by dusk, unless you are camping in the backcountry.
HOW TO GET TO HALF DOME
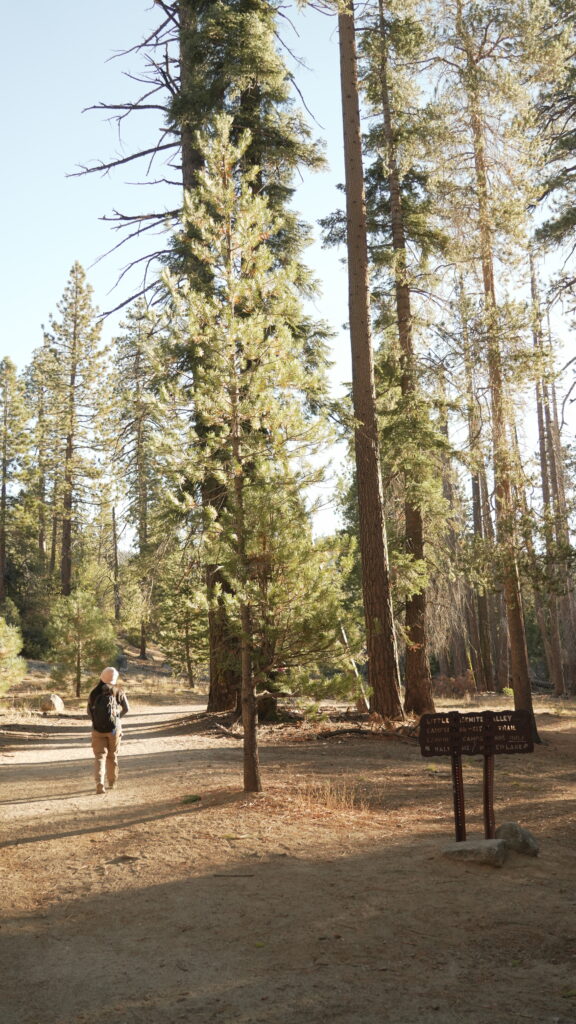
There are two hiking trails that are available to you from Yosemite Valley. Depending on which path you decide on, it will be a 14 – 16 mile round trip (10 – 12 hours). From the John Muir Trail Trailhead, you will approach the junction within the first mile and have a choice between two routes.
THE MIST TRAIL
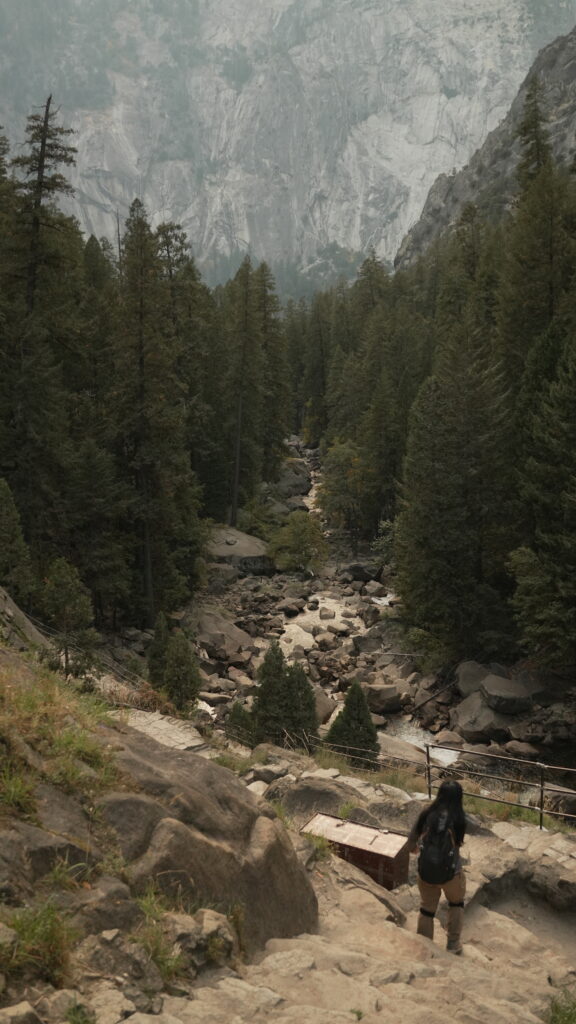
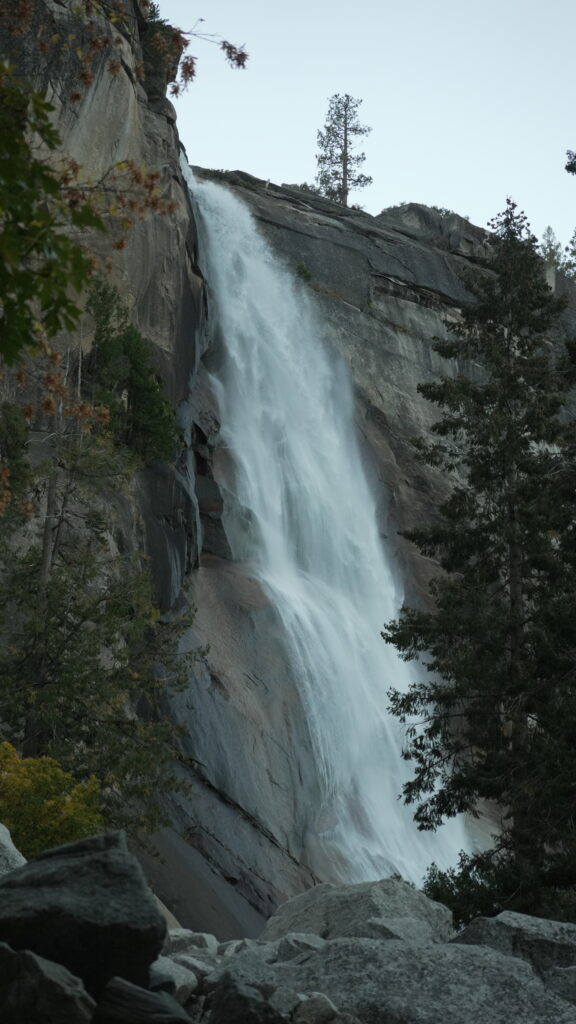
A strenuous 3.5-mile ascent from Happy Isles in Yosemite Valley to Nevada Falls. The trail occasionally closes due to precautions, so if you are presented with the opportunity, take the Mist Trail and you will encounter:
- Vernal Falls – a powerful 317-foot waterfall with roars that echo through the canyon.
- Nevada Falls – a 594-foot waterfall at the base of the Liberty Cap, recognized for it’s “bent” shape.
Be prepared however, as the lengthy stone staircase makes this portion quite challenging.
THE JOHN MUIR TRAIL
Take the John Muir Trail for a more lax but less exhilarating path. The extra mile will bring you to Clark Point, giving an incredible vista of Half Dome, Nevada Falls, and the Liberty Cap.
This route merges with the Mist Trail at the top of Nevada Falls.
HALF DOME CABLES
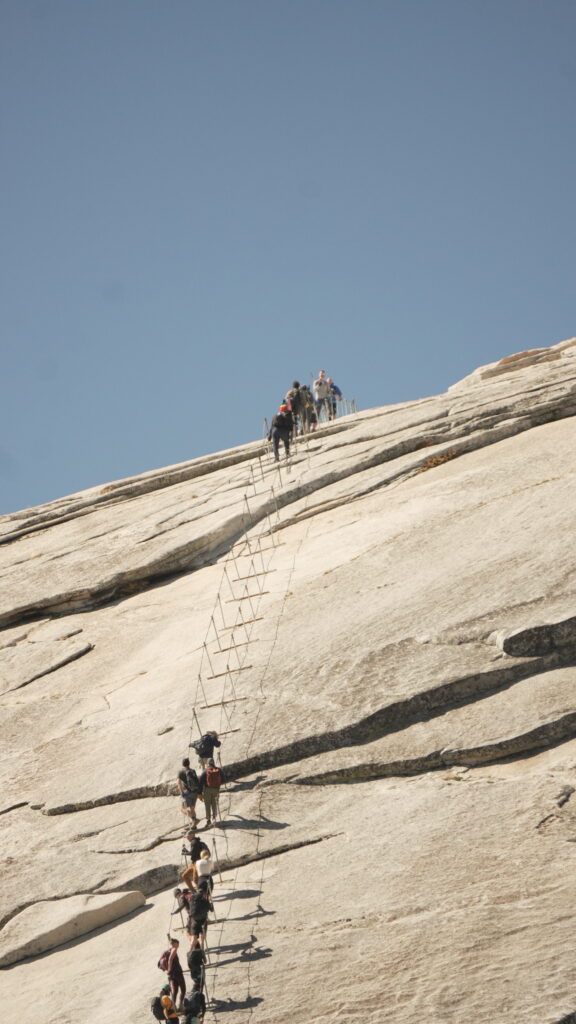
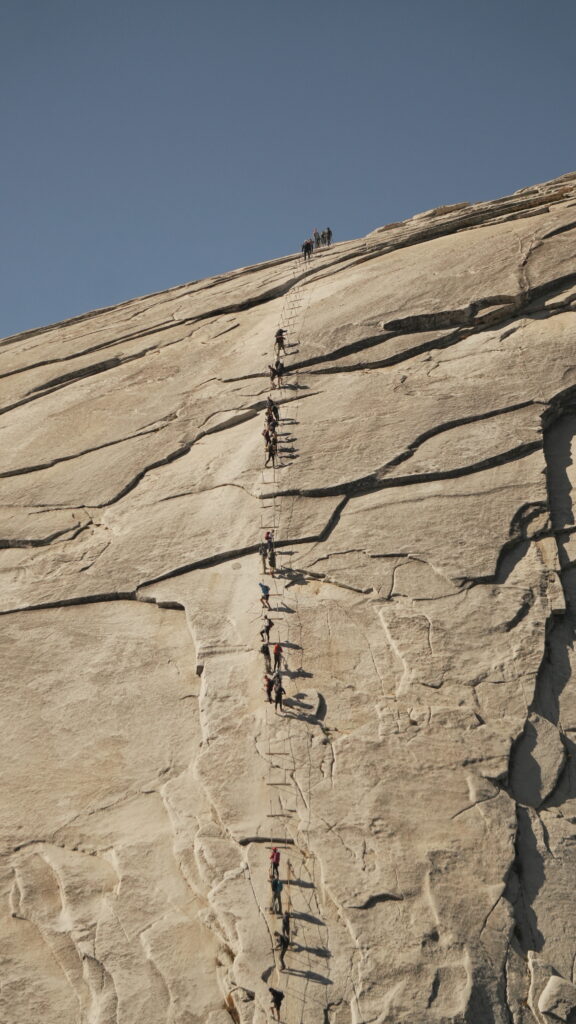
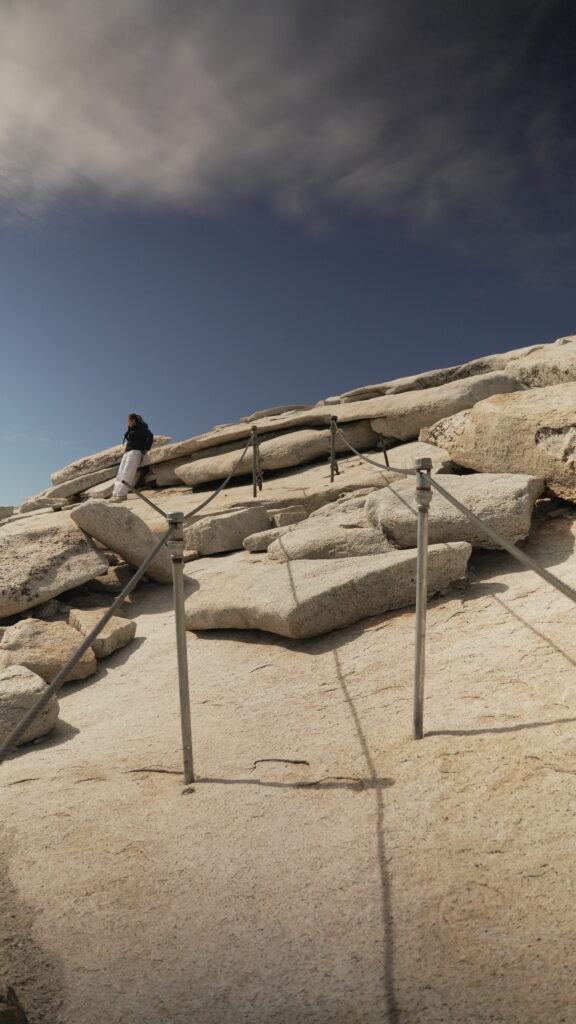
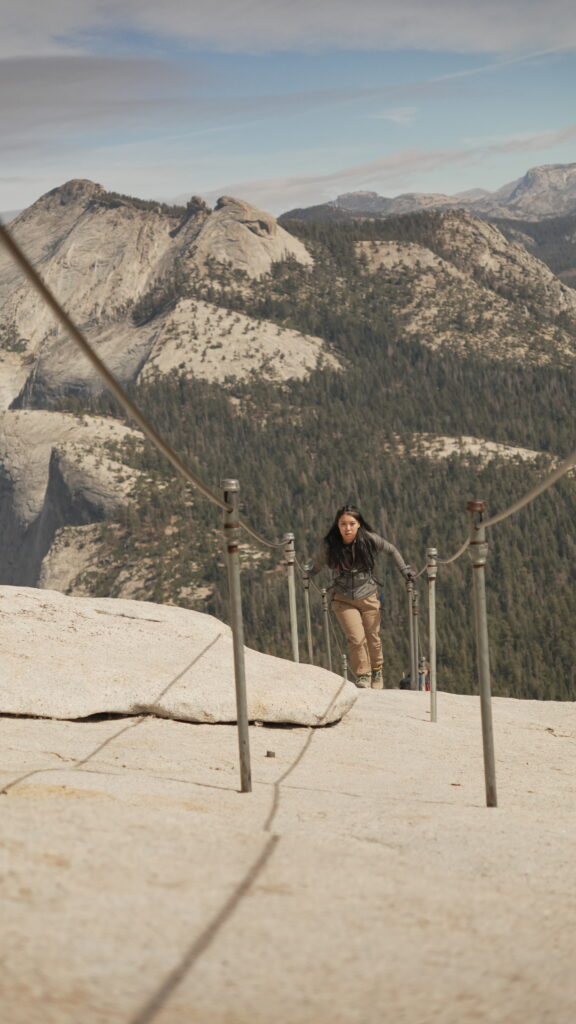
Only 130 meters in distance, this segment would be a walk in the park, if it wasn’t for the 45° incline and the slick granite surface. Safety is crucial here, so these are several tips for climbing the cables.
WEAR PROPER SHOES
The granite has become slick after decades of hikers scaling the dome, so it is vital to wear hiking boots/shoes with superior traction.
WEAR PROPER GLOVES
Gloves are essential when using the cables in order to protect your hands from the metal wires. You don’t need anything fancy, any pair of utility gloves will do.
Do not attempt the cables without them.
If you are bringing your own set of gloves, ensure that they are packed up before you leave. Respect the natural world.
LEAVE THE HARNESS AT HOME
We bought harnesses in anticipation that we would use them for the cables. When we arrived at the base, we noticed no one else used them, and realized it may be more of a hindrance than a support.
It is substantially safer and faster by taking your time and focusing on reaching the next plank.
TWO HANDS FOR SAFETY
Because there is nothing preventing you from plunging to your death, keeping two hands on the cables at all times is absolutely crucial.
Whether it’s both hands on one or one hand on each, lessen the potential for catastrophe with necessary the precautions.
PUSH, NOT PULL
The incline of the dome is strikingly steep and we do not advise you to solely use your arms to pull yourself up. Rather, lean into the mountain and propel yourself using your legs.
If you feel the need to rest, always try to secure yourself on a plank before releasing the cables.
PASSES AND PERMITS
Before attempting the Half Dome hike, there are various passes that are required for admission.
YOSEMITE NATIONAL PARK PASS
A park pass is mandatory for entry into Yosemite. You can pay the daily fee of $35, which grants access for one vehicle and up to 4 total passengers.
Alternatively, if your trip involves visiting 3 or more national parks, we would suggest you purchase the America the Beautiful Pass for $80, which allows unlimited entry into all national parks for one year.
YOSEMITE VALLEY RESERVATIONS
These reservations were introduced to control overcrowding within the valley and manage the inflow of visitors.
- February 26 – April 12: no reservations are required.
- April 13 – June 30 and August 17 – October 27: reservations are required from 5 am to 4 pm on weekends and holidays.
- July 1 – August 16: reservations are required from 5 am to 4 pm every day.
HALF DOME PERMITS
Permits are mandatory to climb the cable section of the Half Dome. There are two ways to obtain a permit.
PRESEASON LOTTERY
Spanning from March 1 – March 31, applicants can apply for up to 6 Half Dome permits for any specific or a range of dates. There are 225 permits to be distributed each day, however, successful candidates may only be a permit holder once for the season.
DAILY LOTTERY
Begins at the conclusion of the preseason lottery, and ends two days prior to the cables being taken down, where applicants can apply for a two-days-before permit. There are 300 permits (225 for day hikers, 75 for backpackers) available for distribution each day and allows for up to 4 hikers.
Not surprisingly, these coveted permits are overly challenging to obtain with the odds being 1:5 (as of 2023). The lottery statistics can be found online. Apply for a permit here.
Helpful Tip: you can increase your chances by using multiple emails or try your luck by finding solo hikers at the Subdome.

COST
Tours are not required for hiking to the Half Dome, but there are a few costs you should know about.
Prices are subject to any changes by National Park Services, but these are the costs we incurred for our trip in 2023.
Helpful Tip: reservation fees are exempt if lodging or a campsite have been booked.
HALF DOME
COST
Park Entrance
$35 per vehicle
Cable Permits
$20 (includes $10 lottery fee)
Reservation Fee*
$2 (only required during specific times)
WHAT TO PACK
The journey to the top of a mountain is a difficult one and it’s especially true for the Half Dome. This is a full day hike and is extremely physically demanding so it is imperative to be as prepared as possible.
- Day pack – a backpack to carry whatever you need for the trek.
- Hiking boots/shoes – comfortable footwear for rough terrain and long distances.
- Utility gloves – hand protection to prevent injuries on the cables.
- Water – recommended at least 3L of water.
- Headlamp – the main light source until the sun rises.
- Windbreaker – the cables and the summit may get windy.
- Snacks – bring enough to keep your body energized (sandwiches, granola/protein bars, dried fruit, cookies).
- Camera – to capture photos and videos during the hike.
- Hiking poles – relieves pressure from legs and lower back.
WHAT YOU CAN'T BRING
There are a couple items you won’t need or can’t bring to the Half Dome.
- Drone(s) – they are prohibited from being flown within the park.
- Rock climbing gear – the cables will provide more than enough support.
TRAINING FOR THE HALF DOME
Adequate training for this hike is important. Your routine doesn’t need to be too complex if you’re in decent shape; a few days a week on the treadmill or stair master will do the job.
A couple tips for effective training:
- Remember to progress – increase the intensity or duration of your workouts every week.
- Add weight – use a weighted vest to simulate the extra weight you’ll be carrying.
- Be consistent – aim to complete the same amount of workouts every week to allow your body to be acclimated to the physical demand.
We integrated at least two of these sessions per week into our regular workouts two months leading up to the hike.
MAP OF HALF DOME
Below is a map of the hike from the trail head to the Half Dome, where we have highlighted some notable features.

Thanks For Reading!
Our content is free and we want to give readers as much information as possible before you travel. To support us, we have postcards from this trip that are available for purchase here.

